We moved to NC in the fall of 2017 with a job relocation. Since it was during the school year, and there were no short-term rentals in the attendance zone for the boys’ school, we scrapped a lot of our ideas about finding perfect land, in favor of making sure we just had a good family home. Don’t get me wrong, this is no mere consolation prize. We feel extraordinarily grateful to live in such a beautiful, comforting place. We have more natural scenery, and wildlife at our doorstep than we could have ever anticipated. However, with all of the fairytale wildlife, rolling hills, and towering trees, we had to take a couple of extra steps when planning our garden… like scoping out a sunny patch, securing it with a fence, and making it a flexible design that could be changed or moved as we spent more time observing this new environment.
Fencing for Deer:
If you search for recommendations for deer fencing, almost all of them will recommend a height of about 7-8ft. or a shorter, double fence, with a 3-4ft wide walk-path between the two perimeters. The logic of the shorter, double fence is that deer will not jump into an area where they think they might get trapped, and the shallow space between the two fences creates that sense of, “It’s a trap!”– making it a successful barrier. So the first goal of our garden design was to use shorter fencing, while creating the illusion of a trap. The second design requirement, was that it needed to be simple enough for me to build on my own, during nap times, and with minimal tools. Of course Brad helped; but this was my baby, and with the short days of late winter, trying to fit it in after work wasn’t really an option. Finally, it needed to be sturdy, and cost effective.
The Solution:
An 8ft x 16ft space, broad side parallel to the slope of the hill
6ft U-posts set 8ft apart with a manual driver, and finished with spray paint of choice
2in poultry wire wrapped around the interior, and secured with 12in zip ties with excess folded buried under the ground cover,
The gate was made by building a very basic butt-joint frame out of 2x2 lumber (cut to the size of the desired opening), and some hardware cloth we found under the deck. We also repurposed loose bricks that were left by the previous owners, to reinforce the bottom of the fence; but this could be accomplished with a flexible landscape border, timber landscaping boarder, inexpensive pavers, or other found materials. Be creative!
Raised Beds:
Again, we moved in the fall and wanted to be ready to plant in the spring; so I spent the early part of winter planning the garden. And since (according to very scientific tree science) a wooded area that’s sunny during the winter/early spring, likely to be at least partially shady in the summer/fall, we opt’d for a raised bed solution that could be easily relocated or stored if we needed to make changes later on.
That wonder product is the fabric raised bed. Please note that all fabric raised beds are not created equal, and a what you spend can make the difference between having a bed that can be washed, and reused for several years, or needing to replace them after one year. Even within the range of prices for fabric beds, they are still a very affordable, easy to use option. A major bonus for us has been the literal flexibility of a raised bed that will conform to the ground beneath it vs. needing to be installed on a level surface, or cut to fit a terraced slope. We like that the fabric - think of a heavy duty felt - allows for more airflow at the soil level, than a solid bed; but the flip side, is that you need to monitor watering more closely… because there is more air exposure at the soil level. Lastly, these beds do have bottoms. So if you need a barrier between burrowing critters and your plants, that’s a plus. Just remember to add some helpful critters like earthworms, and plenty of organic matter to encourage the development of a healthy microbiome in the soil.
In this garden were two 3x3 beds, and one 6ft round bed in the center.
Fill Material:
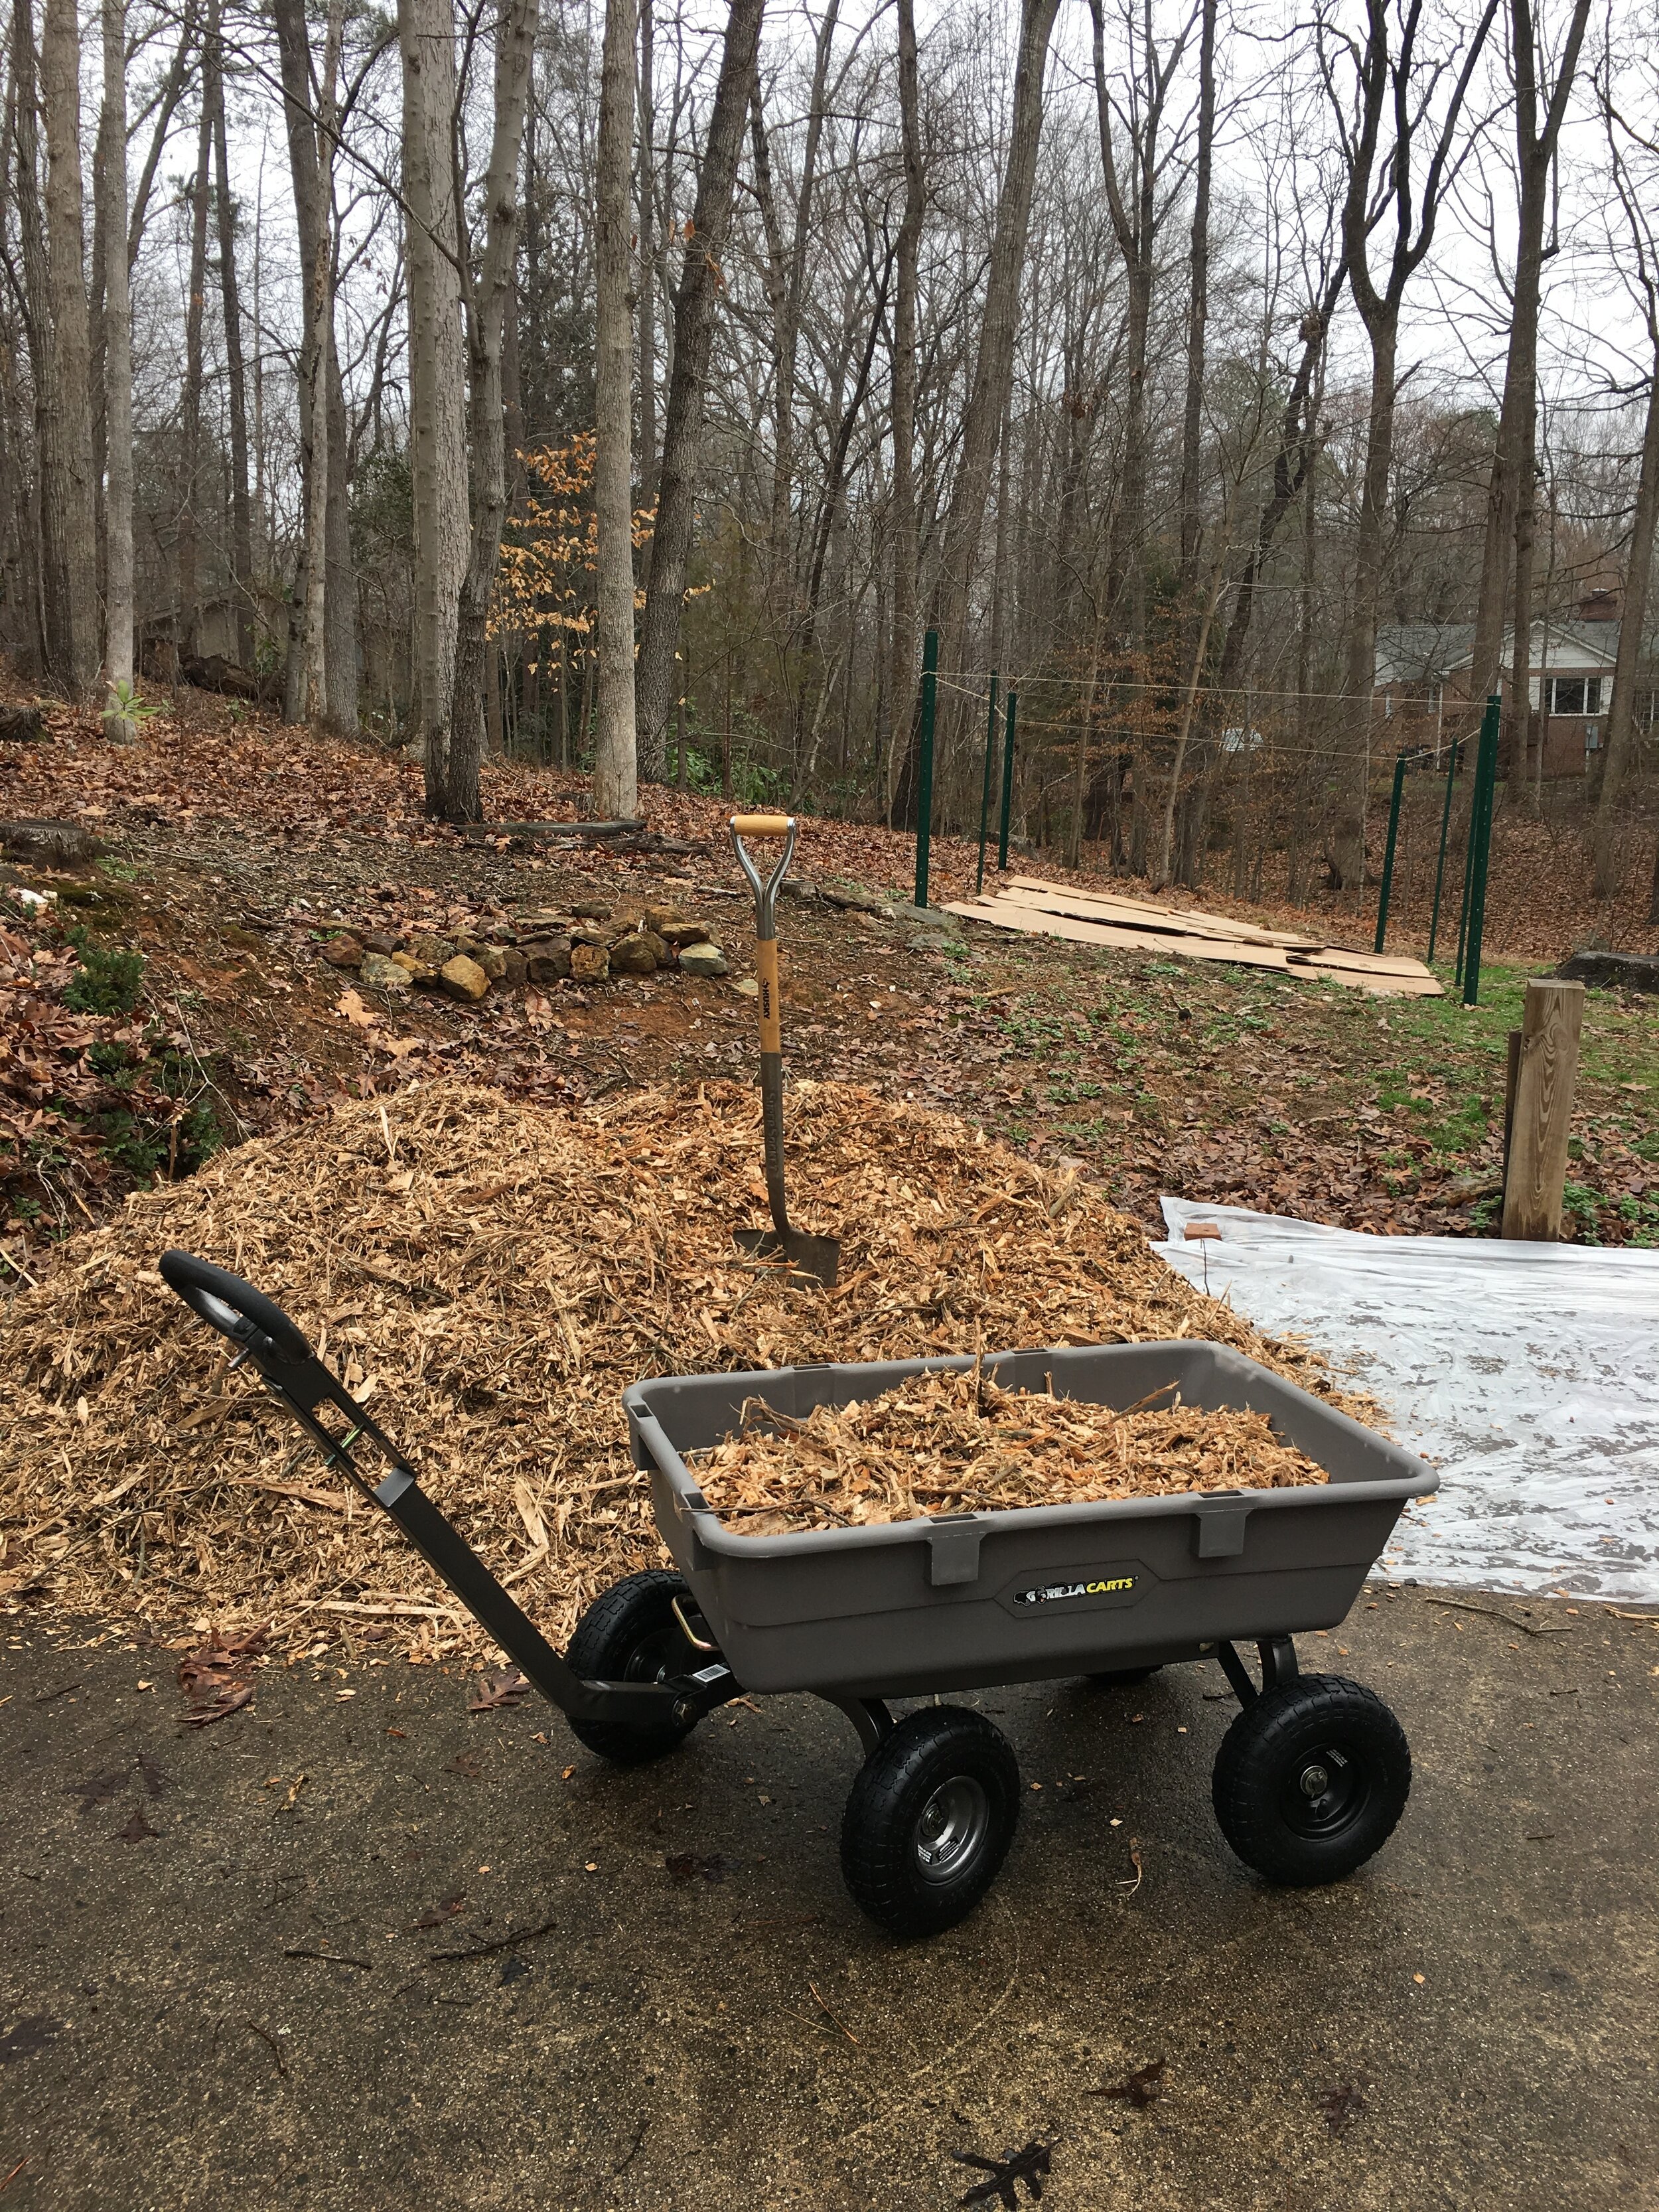
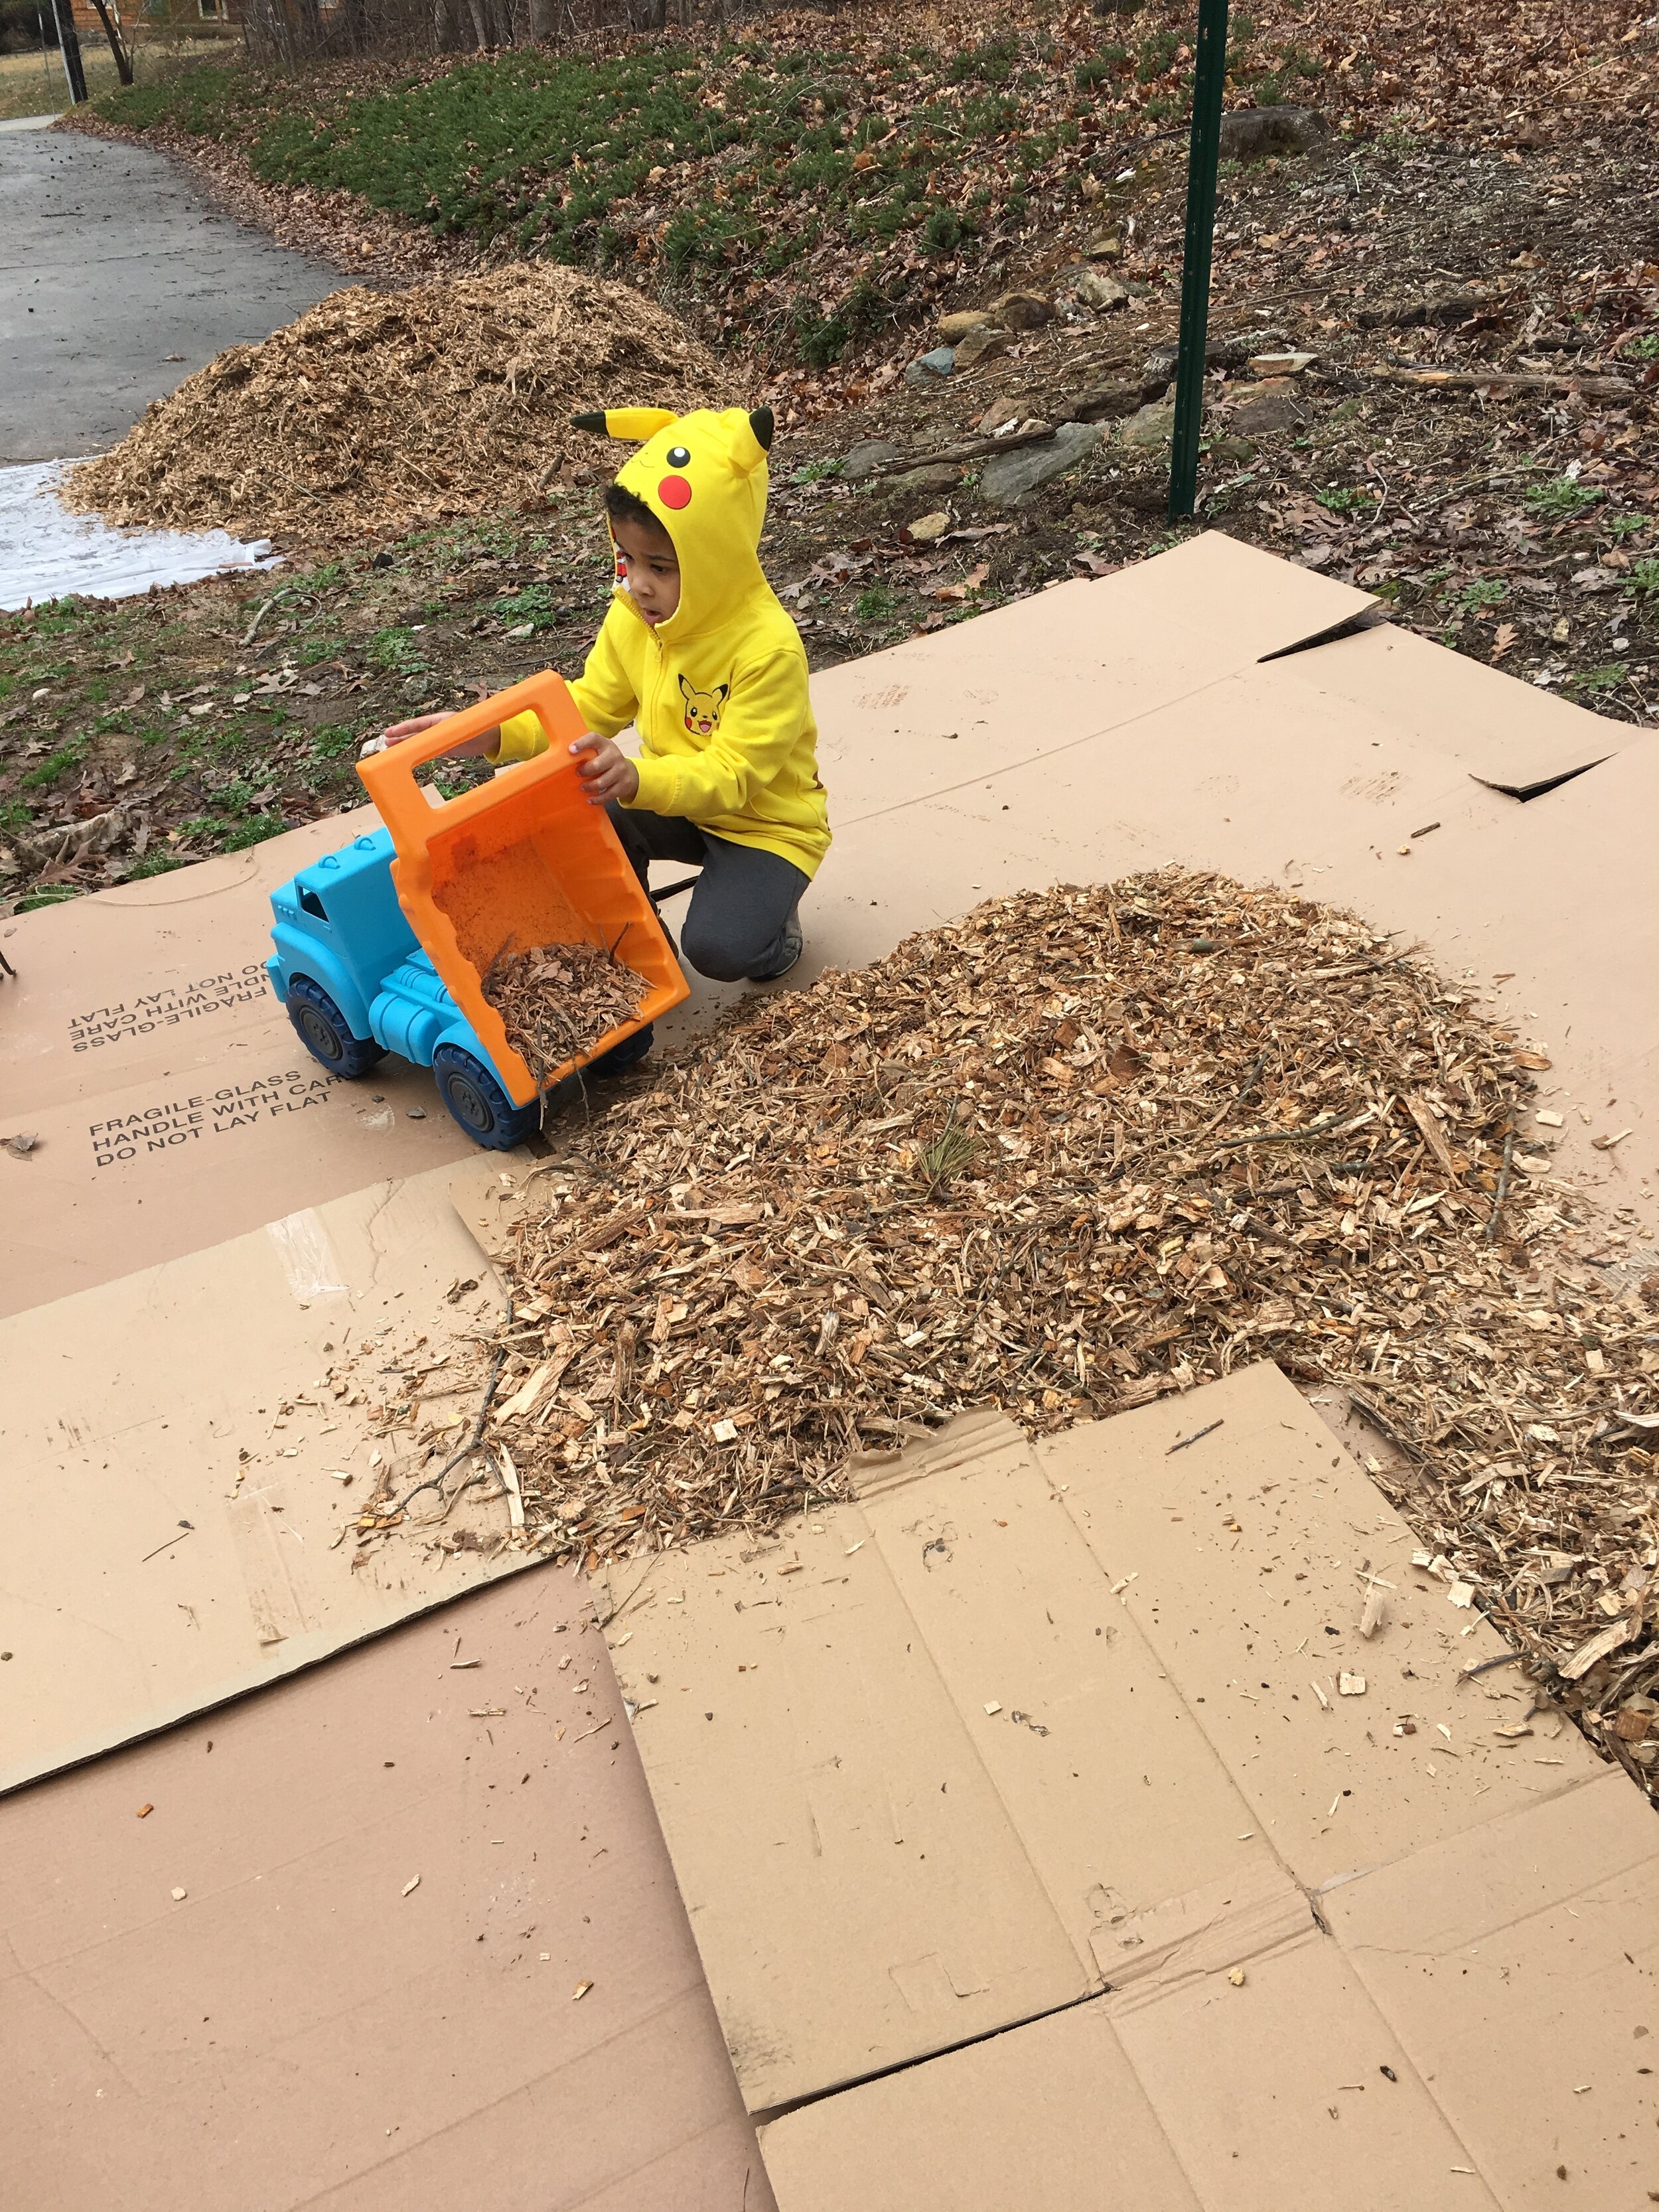
There are so many options for filling your garden beds, and containers; so I won’t get into the details of types of fill in this project. What I will say, is that if you are filling large raised beds, search for a local wholesaler of landscaping supplies for your ground cover, and fill material before heading to your local big box store. The savings are well worth it if you can have a cubic yards of compost & topsoil, or mulch delivered (or picked up), vs. paying $5-$8 for a cubic ft. of bagged material. For reference, there are 27 cubic ft per cubic yrd, a 8x4 raised bed that is 12in deep, would require 1.19 cu.yd. of fill material. We have moved both bags, and wagon-loads of soil, and mulch. It’s all heavy; but you save money and plastic waste by going with a bulk option if it’s available. We used wood chips at $10/cu.yd. and a combination of topsoil and certified compost at about $30/cu.yd. for this garden.
We used approximately 1cu.yd of wood chips for ground cover, and 1.5cu.yd of fill.
After the beds were in place, filled and planted, we added 15in fabric pots in the empty corners. This allowed us to sneak a our summer planting in while letting our spring greens and herbs linger a little bit longer.
If there’s anything you would like more specific information about, don’t hesitate to ask in the comments. Thanks for checking out the Little Big Garden Project!


